Translate

Monday, February 26, 2007

Waterlily

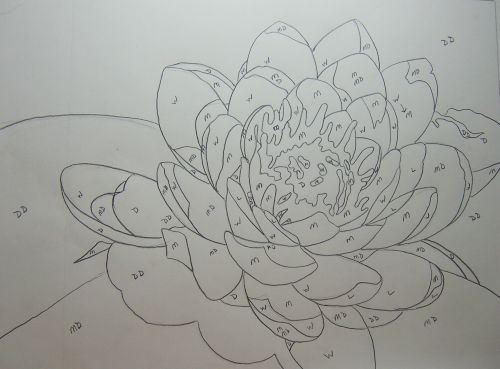
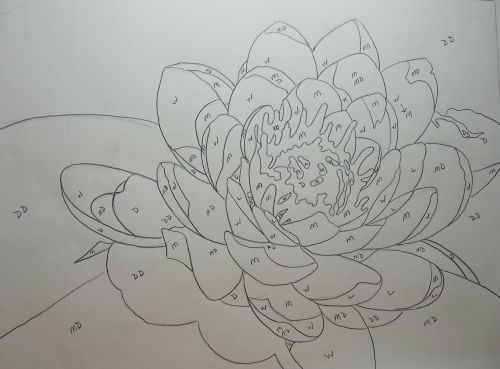
Here's my line drawing. I penciled in my values:
D=dark, M=medium, L=light, etc.


I tried a new painting technique. It's very different from anything I've used before. I purchased a demo on DVD from Creative Catalyst featuring Mark Mehaffey. It's called Build Design & Color Using A Mouth Atomizer.

He uses a mouth atomizer but I decided to try the little spray bottles that spray a fine mist. The basic idea:
1. Create a simplified drawing of your subject using approximately 5-7 values.

2. Make a line drawing of your subject using at least a 4B pencil.

3. Using mat frisket film lay the film down on your drawing and burnish to release air bubbles and transfer the graphite onto the sticky side of the frisket.

4. Making sure you've taped down your drawing well, peel the frisket off and lay it over your working paper.

5. Working from the center outwards smooth down the frisket, working out any air bubbles. You now have a clear image to work from but nothing is actually on your working paper. The pencil lines are on the underside of the frisket.

6. Start with the areas that will be the darkest. This is the opposite of how watercolor is usually applied. Using a #11 Exacto knife with sharp blade remove the frisket in the areas you wish to spray. Keep changing blades often! Once you feel it dragging, change it! The frisket is very thin so I made sure not to cut too deep to avoid scoring my paper.

7. Another consideration: after each spraying wipe the remaining frisket with a paper towel (in small areas I used a Q-tip) so the paint doesn't build up and obscure your lines.

8. Keep spraying to build not only values but color. I used the 3 primary colors, one warm and one cool of each. Doing this allowed me to not only change color but temperature.

9. Let the fun begin!

Sunday, February 18, 2007

Time Out to Paint the Rose


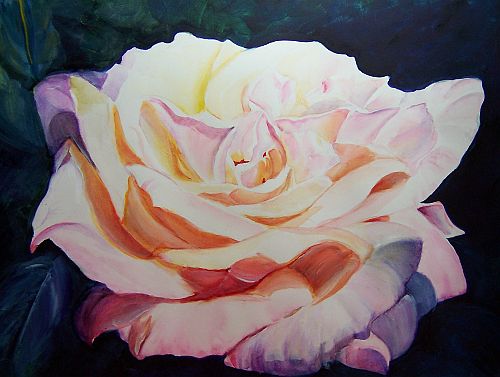
Having never painted a really good rose I'd have to say that statement still stands. Also painting on hot pressed watercolor paper proved to be quite the challenge. The paint tended to sit on top of the surface and lift when I tried to glaze over it. I finally resorted to breaking all the so-called rules of watercolor to rescue this rose to the point of considering posting it here. I used opaques! Shame on me. LOL

Saturday, February 10, 2007

Catch of the Day


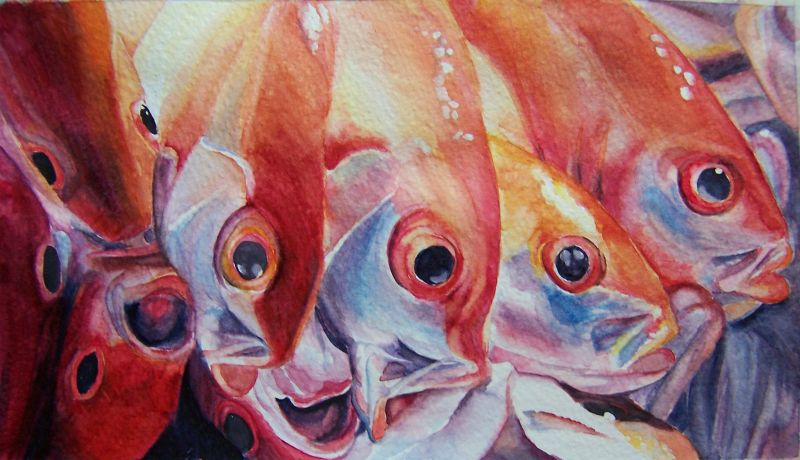
Ha! Not exactly what I had in mind when I decided to paint fish but I saw this photo and couldn't resist.

Wednesday, January 31, 2007

Going Fishin'


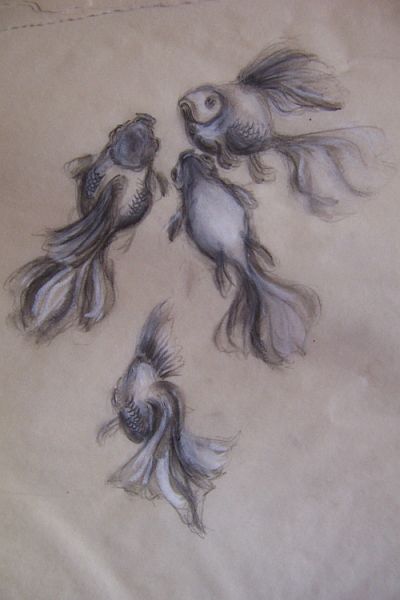
I've always wanted to paint fish. Why? I don't know...just one of those things. I do not own fish and I can't seem to find any decent reference photos online so I've been studying the anatomy of veiltail goldfish instead. I love their long fins and tails which would lend themselves well to some exciting movement in a painting. These sketches are from my imagination, done with water soluble graphite and white charcoal on some odd paper I found on my studio shelf. It reminds me of a cross between yellowed tissue paper and tracing paper. Wish I knew where I got it. The results were rather sumi-like in style. I do like the look here but the search for THE fish will continue.

Thursday, January 11, 2007

Ellie in the Fall


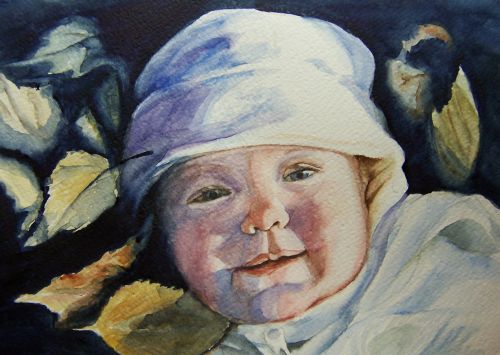
I've finally completed this. I had my doubts how well this one would turn out but I'm pretty satisfied with my results.

Saturday, January 06, 2007

Ellie #2 wip


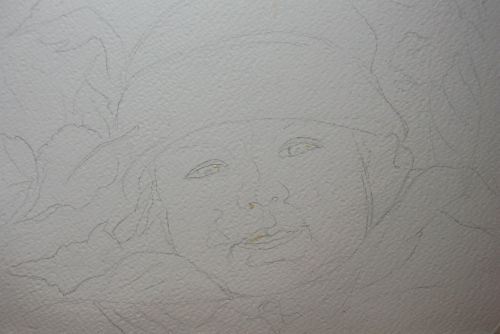
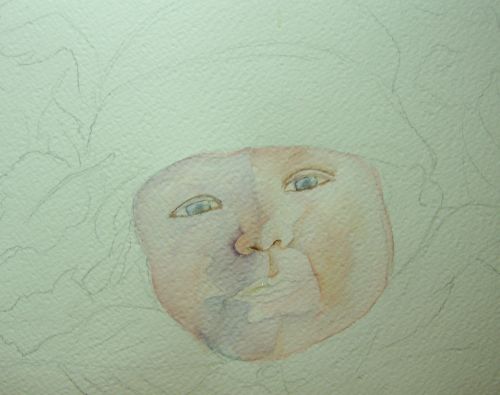
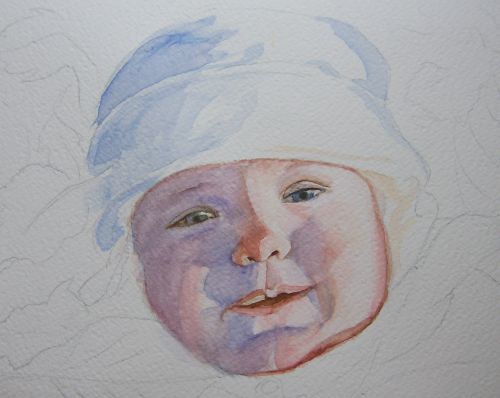
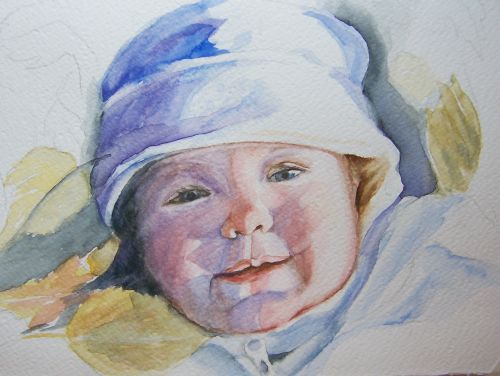
This is my second painting of Ellie. I chose to stay closer to the values in the reference photo. Also I'm going for more detail and a credible likeness. As I build washes I'm working tighter.

The first image is my sketch.

In the second image I've applied some masking fluid to the catchlights in the eyes, lip and a spot on one nostril. I'm starting to apply my first washes.

At stage three I've begun to define the features...eyes and nose mostly. This is where I've begun painting much tighter.

Stage four...strengthening values of the shadows and working on the mouth.

Stage five...I've started the background and clothing and have begun fine tuning Ellie's features.

At this point it's time to put this down and let it rest for awhile.

Saturday, December 30, 2006

Ellie #1


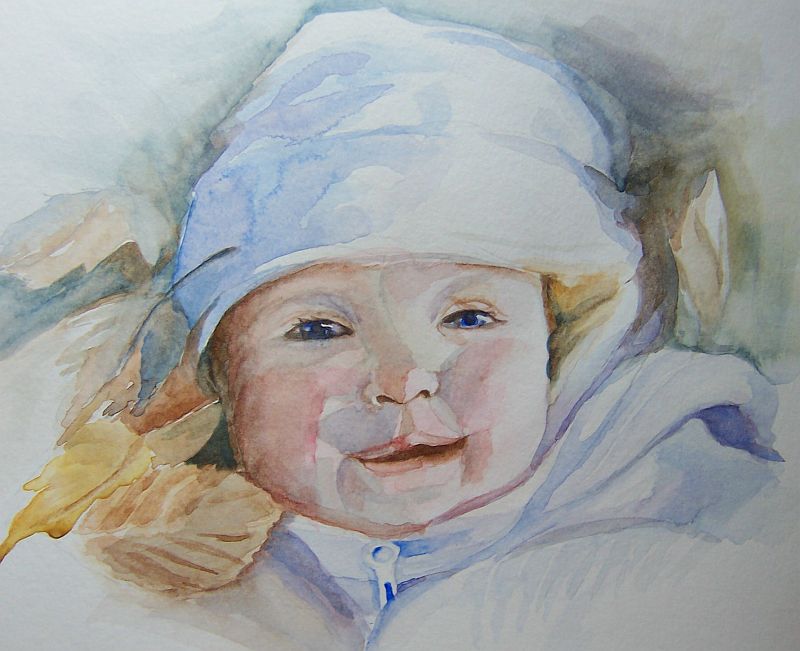
Making the leap from tight detail work to a much more 'loose' style has proven to be quite a journey for me. I've been particularily fascinated with the paintings of Jean Haines aka Aquarelle10 on WetCanvas. Her style is so removed from what I usually do that I felt challenged to give this a try. In July of this past year she did a wonderful tutorial in the Learning Zone on painting children and I've been studying it recently for this portrait. The subject is baby Ellie, my dear friend's first granddaughter experiencing her first Fall lying in the autumn leaves and obviously enjoying herself.

This painting is a dry run(a bit of a misleading statement as this style is done very wet) for the completed portrait. The paper I've used is not my favorite...a cheap store bought brand that loves to buckle the moment it gets wet and(I'm guessing here) is not good quality rag. It's good enough for trials and testing mixes, though. I did a quicky sketch without worrying too much about a likeness at this point.

One of the tricks to this style is selecting what's important and pertains to the subject and getting rid of unnecessary details. Cutting things down to the bare essentials, so to speak.

Secondly, keep washes light and very wet. I believe Jean uses the word 'whispery' a lot. After each wash has completely dried more washes can be added to build color and create contour and volume. She paints in suggestions of detail rather than actual D-E-T-A-I-L and isn't afraid of the dreaded backrun but instead uses them to her advantage. I call this style of painting controlled chaos but I'm sure Jean would disagree on the 'chaos' part. For me, it's still chaos but in a fun way.

Even though I wasn't really concerned with capturing a likeness at this point I was surprised how much this first attempt resembled my subject.

Monday, December 18, 2006

Dazzling Dahlia Again


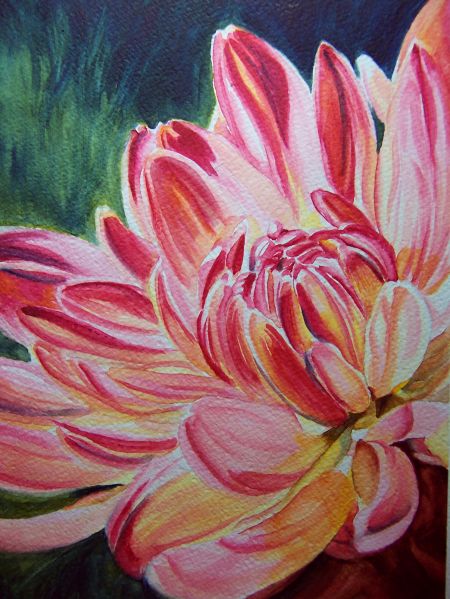
After posting my dahlia on WetCanvas and getting some sage advice from the skilled watercolorists there, I decided to tone the background down a few notches. It was competing too much with the flower. It still looks a bit bright in the image but is much more subtle IRL.

Saturday, December 16, 2006

A Ball and a Box


I'm getting into the Xmas mood finally. In tweaking my decorations last night I got the bright idea to take a couple framed botanicals I bought from a flea market and replace them with more Xmasy(?) themed paintings. I spent all of 15 minutes on each of these and had the time of my life. They'll be hanging in my diningroom for the Holidays.

Saturday, December 09, 2006

Dazzling Dahlia


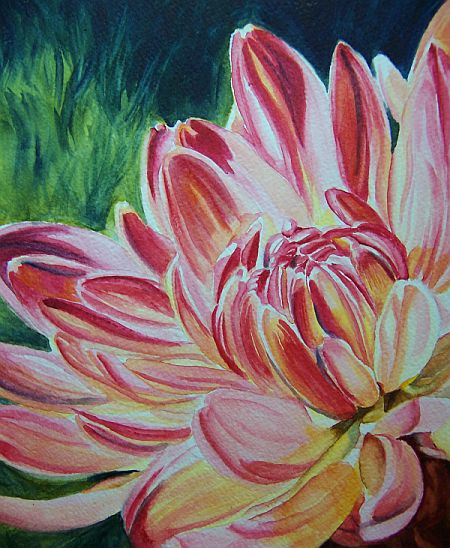
I finally completed the background on my dahlia and brought in some of the blues and greens on the petals. I'm not completely sure on the crop yet. This is one I'll have to stare at for a few days to see if I like it.

Sunday, December 03, 2006

The Garden in Winter


Looks like it's going to be a snowy year in northern Michigan. This is only a three day accumulation. The weatherman says the snow will continue until next weekend. I snapped this shot during a short break in the flurries. I'd be willing to bet we'll be having a white Xmas this year!

Saturday, December 02, 2006

Sherlock & Watson


Yup...more felines but these belong to and live with my youngest son and his girlfriend. Just three months old they are the cutest little balls of fluff. Sherlock is in smokey black and Watson is sporting the taffy coat. Looks like they have put their heads together to solve The Case of the Catnap.

Dahlia wip


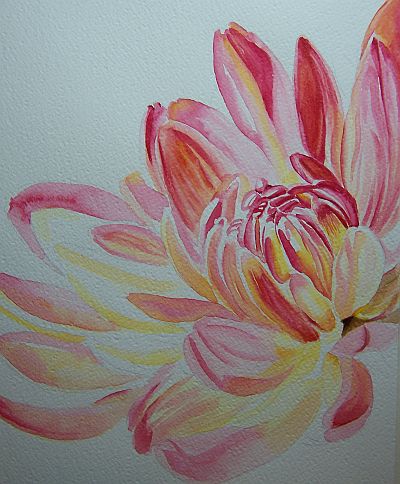
I found a great reference and did a crop so I could complete this as a macro. The paper is Fabriano 140# CP bright white paper. I'm using a very limited palette...Daler/Rowney Alizarin Crimson, Indian Yellow and a bit of Burnt Umber on the flower. I'll work out the BG when the flower is finished. Working up with various light washes seems to be helping. I've found I have more control of the paint and am using less water. In retrospect I realize I've been overwetting my paper and then not allowing enough time for it to dry to the right stage of dampness. Patience is not one of my virtues unfortunately.

Monday, November 20, 2006

Purple Orchid


This is a little something I whipped up after the cat fiasco. I tried to keep to a fairly limited palette...Perm. Rose, Mauve, Cobalt Blue Deep and Raw Umber. I threw in some Sap green for the leaves. I wasn't sure how to get the dark, dark BG so I deviated a bit w/Prussian blue and Burnt Sienna. I softened a few of the edges so the BG colors would flow in and blend with the COI.

Thursday, November 16, 2006

The Problem With Cats


They always want to help and love to get into the picture. That black blur you see is Raven, my studio assistant aka cat. When she's not drinking the paint water she's walking across my painting...even while it's still wet. Especially while it's still wet.

Fun With Dahlias


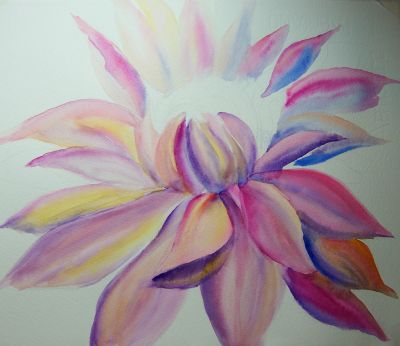
Taking the lead from Ann Pember I did a quick sketch from my imagination and just started putting down paint, mixing the colors on the paper. Boy is this fun! I remembered to keep changing the colors on each petal as I went along, making sure to rinse my brush in clean water before picking up new paint to keep the colors 'clean'. This is far from done and I'm not even sure I'll be completing this one. This is a new experience for me. I'm using large brushes, lots of water and absolutely no references. WooHoo!!!

Stage Three...ooops


I decided to try a technique I had seen on a video demo in my background. Above the center flower I put down a heavy wash of burnt sienna, sap green and perm. rose. Then I used the edge of a spoon to scrape out highlights. Note to self...don't try this again on 140# paper. At this point I'm not sure I can salvage this painting. The paper surface is a bit damaged from the scraping. I'm putting this one aside for now until I decide if I want to mess with it anymore or chalk it up to experience.

Monday, November 13, 2006

The Next Stage


I'm finding myself doing a lot of correcting on this one. I've added a few of the darker values to get a handle on how well the lighter values are working. The background is basically from my imagination which for me, is a new concept. I'm taking a few cues from my photo ref but the rest is pure fiction. I want the focus on the main flower so I don't plan to sweat the background too much but still make it look right with the COI. I can see this isn't a good photo. Very drab looking. Days without sun makes image updates difficult.

Friday, November 10, 2006

The Painting Begins


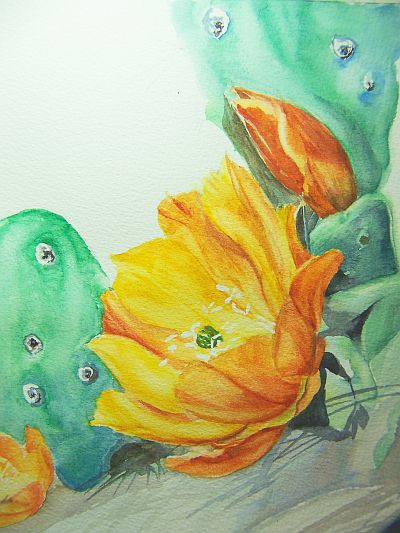
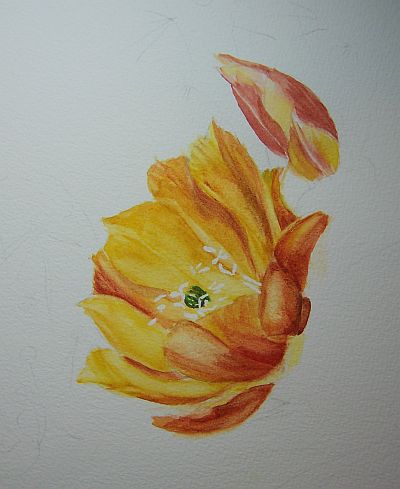
My good friend, Mary Woodul sent me a beautiful photo of a cactus flower. I'd love to do this flower justice with watercolor. I'm doing a few trial and error paintings, this one being my first attempt. I'm experimenting with colors while trying to keep the values accurate. I can see I have much more work to do.

PALETTE AND PAINT

PAINTED PALETTE


MY PALETTE


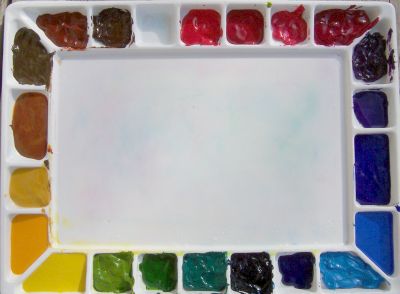
I've made pans from my tube paints. This means I've filled each well with an entire tube and smoothed the top flat. Not only does this eliminate the problem of searching for tubes if I should run out of a color midway through painting but it's much easier to keep the paints moist. I don't paint everyday so this has been a real boon for me. I did leave one well empty just in case I need to add a color down the road.

Also something I'd never done before was to create a painted palette so I can see at a glance what each color will look like on the paper.